
Alltagsküche
Kochen, wie es zuhause schmeckt
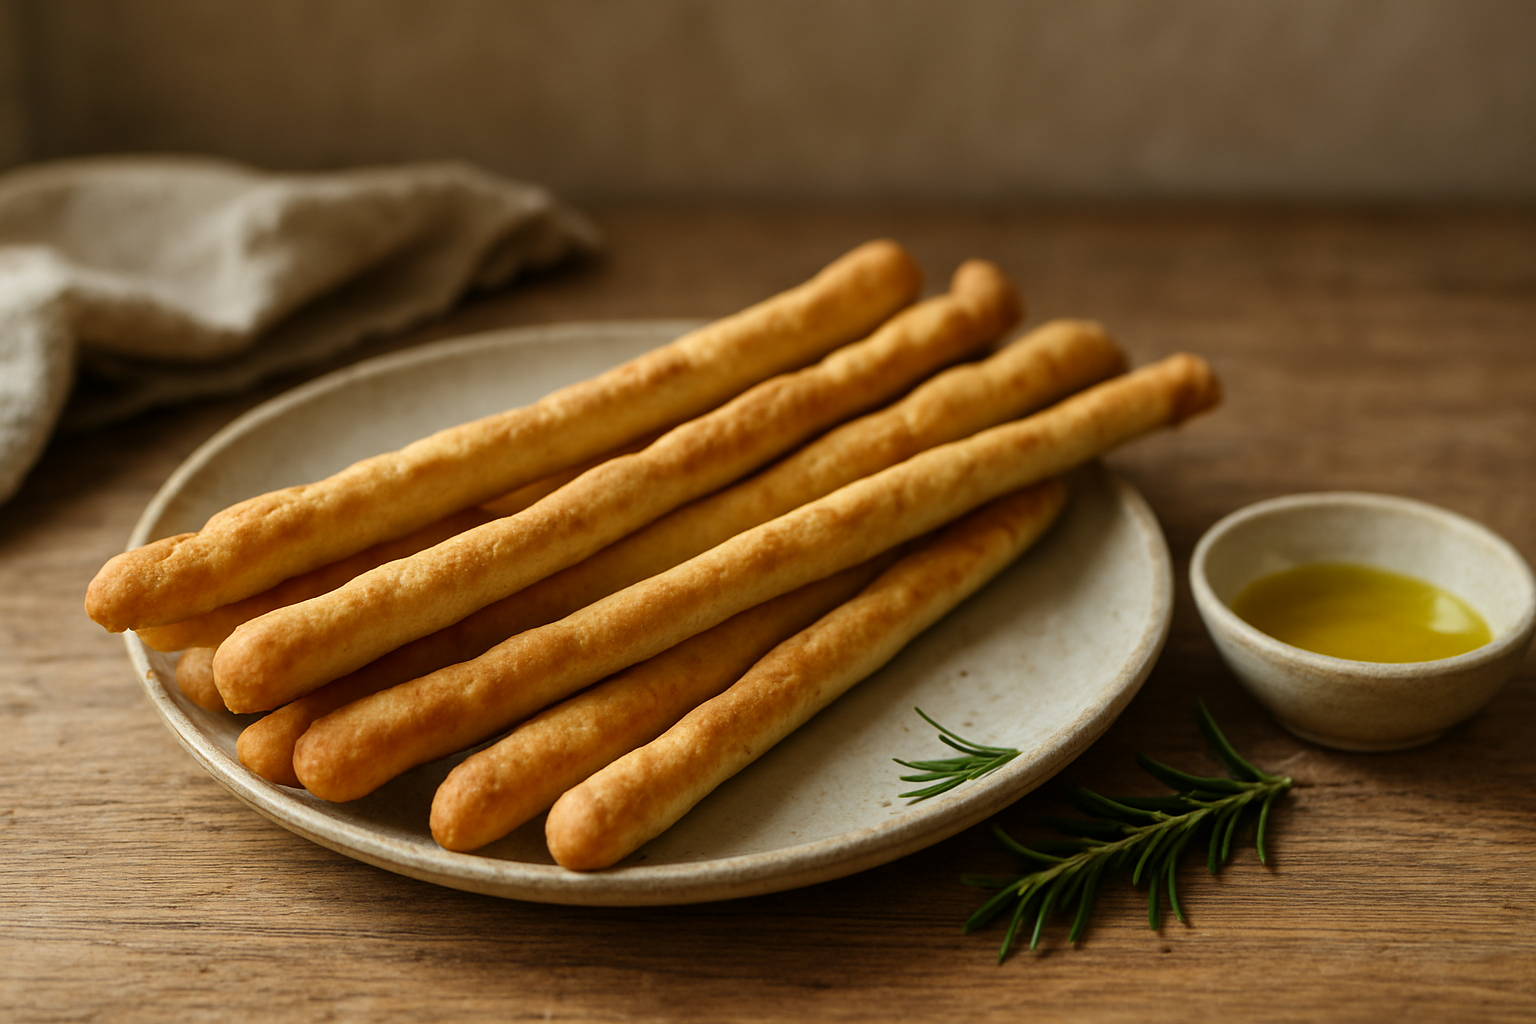
Grissini: Crisp Italian Breadsticks for Antipasti and Dips
🛒 Ingredients
- ✓
250 g plain flour or Italian type 00 flour
- ✓
10 g fresh yeast
- ✓
125 ml lukewarm water, plus a few drops if needed
- ✓
2 tbsp olive oil
- ✓
1/2 tsp fine salt
- ✓
1/2 tsp sugar
- ✓
Extra flour for shaping
- ✓
A little water for brushing
📊 Nutritional Information
This recipe is also available in German.
📌 Overview
Grissini are crisp Italian breadsticks made from a simple yeast dough with flour, olive oil, water and salt. They are served as an appetizer, with dips, alongside antipasti or with a glass of wine. The dough needs only short resting times, but the shaping matters: the strips should be rolled evenly so they bake through at the same speed and become crisp without turning too dark.
You may also find it useful to look at recipes Greek White Bread with Olive Oil, Homemade Tortillas Recipe, and Homemade Arabic Flatbread Recipe, in addition to this one.
👨🍳 How to make Grissini
- 1
Place the flour in a mixing bowl and make a well in the centre.
- 2
Dissolve the fresh yeast and sugar in the lukewarm water.
- 3
Pour the yeast mixture into the flour. Add the olive oil and salt.
- 4
Knead for 6–8 minutes by hand or 4–5 minutes with a dough hook, until the dough is smooth and elastic. If it feels too dry, add only a few drops of water at a time.
- 5
Cover the bowl and let the dough rise in a warm place for about 10 minutes.
- 6
Knead the dough briefly again, then roll it out on a lightly floured work surface into a rectangle about 1 cm thick.
- 7
Cover the dough with a clean cloth and let it rest for another 10 minutes.
- 8
Preheat the oven to 200°C and line a baking tray with baking paper.
- 9
Cut the dough into 10 long strips, each about 25–28 cm long.
- 10
Roll each strip lightly with your hands to make even breadsticks. Place them on the prepared tray with space between them.
- 11
Brush the grissini very lightly with water.
- 12
Bake on the middle shelf for 20–25 minutes, until crisp and lightly golden but not too dark.
- 13
Let the grissini cool on a wire rack before serving so they become fully crisp.
🧠 Why It Works
A lean yeast dough gives grissini their light structure, while olive oil keeps the breadsticks crisp rather than hard. The short resting times relax the dough, making it easier to roll into long strips. Brushing with a little water helps the surface bake evenly, and cooling on a rack prevents steam from softening the breadsticks.
🛠️ Troubleshooting
Why are my grissini not crisp?
They may be too thick, underbaked or cooled on the tray. Roll them evenly, bake until lightly golden and let them cool on a wire rack so steam can escape.
Why did the dough tear while rolling?
The dough probably needed more resting time or was too dry. Let it rest for a few extra minutes and add only a few drops of water if it feels stiff.
Why are the breadsticks too hard?
Too much flour during shaping or overbaking can make grissini hard instead of crisp. Use only a light dusting of flour and remove them when golden, not brown.
Why did some grissini bake faster than others?
The strips were probably uneven in thickness. Roll them to a similar length and diameter so they bake at the same speed.
Can I make grissini without fresh yeast?
Yes. Replace 10 g fresh yeast with about 3–4 g instant dry yeast. Mix it with the flour or dissolve it in the water depending on the yeast type.
💡 Tips and Variations
- •
Add chopped rosemary, thyme or oregano to the dough for herb grissini.
- •
Sprinkle sesame seeds, poppy seeds or coarse salt on the brushed breadsticks before baking.
- •
For a more rustic texture, replace one third of the flour with wholemeal flour.
- •
Do not roll the breadsticks too thick, or they will remain soft in the centre.
- •
For extra crispness, leave the baked grissini in the switched-off oven for 5 minutes with the door slightly open.
- •
Serve them the same day if possible, as homemade grissini are best when freshly crisp.
📦 Storage
- •
Let the grissini cool completely before storing.
- •
Keep them in an airtight tin or container at room temperature for up to 4 days.
- •
If they soften, refresh them for 4–5 minutes in a 160°C oven and cool again on a rack.
- •
Do not refrigerate grissini, as humidity makes them lose crispness.
- •
Freezing is possible, but the texture is best when they are baked fresh or refreshed briefly after thawing.
🍷 Pairing
- •
Serve with hummus, olive tapenade, tomato dip or whipped ricotta.
- •
Pair with antipasti such as olives, roasted peppers, artichokes and cured meats.
- •
Use as a crisp side for soups, salads or cheese boards.
- •
For drinks, serve with dry white wine, light red wine, sparkling wine or an aperitif.
❓ F.A.Q.
How do you make grissini crispy?
Roll the breadsticks evenly and fairly thin, bake them until lightly golden and cool them on a wire rack. If they soften, refresh them briefly in a low oven.
Can I make grissini ahead of time?
Yes. Bake them earlier in the day or the day before and store them in an airtight container once fully cool.
Can I use dry yeast instead of fresh yeast?
Yes. Use about 3–4 g instant dry yeast instead of 10 g fresh yeast. The dough should still rest briefly before shaping.
What do you serve with grissini?
Serve them with antipasti, dips, olives, cheese, cured meats, soups or salads. They also work well with wine before a meal.
Can I make vegan grissini?
Yes. This recipe is naturally vegan if you use olive oil and avoid cheese or dairy toppings.
Why are my grissini soft the next day?
They have absorbed humidity from the air. Reheat them briefly in a 160°C oven, then let them cool on a rack to restore crispness.
🏛️ History and Tradition
Grissini are traditionally associated with Piedmont in northern Italy, especially Turin. They became popular because they were light, dry and easy to keep, making them practical at the table and suitable for serving before a meal. Today they are common across Italy and beyond, often served with antipasti, cured meats, cheese, olives and wine.
- •
Homemade grissini are simple, but their success depends on even shaping, moderate baking and proper cooling.
- •
Served crisp with dips, antipasti or wine, they are a practical Italian appetizer that can be prepared ahead.
Rate this recipe
Click or tap the stars to rate